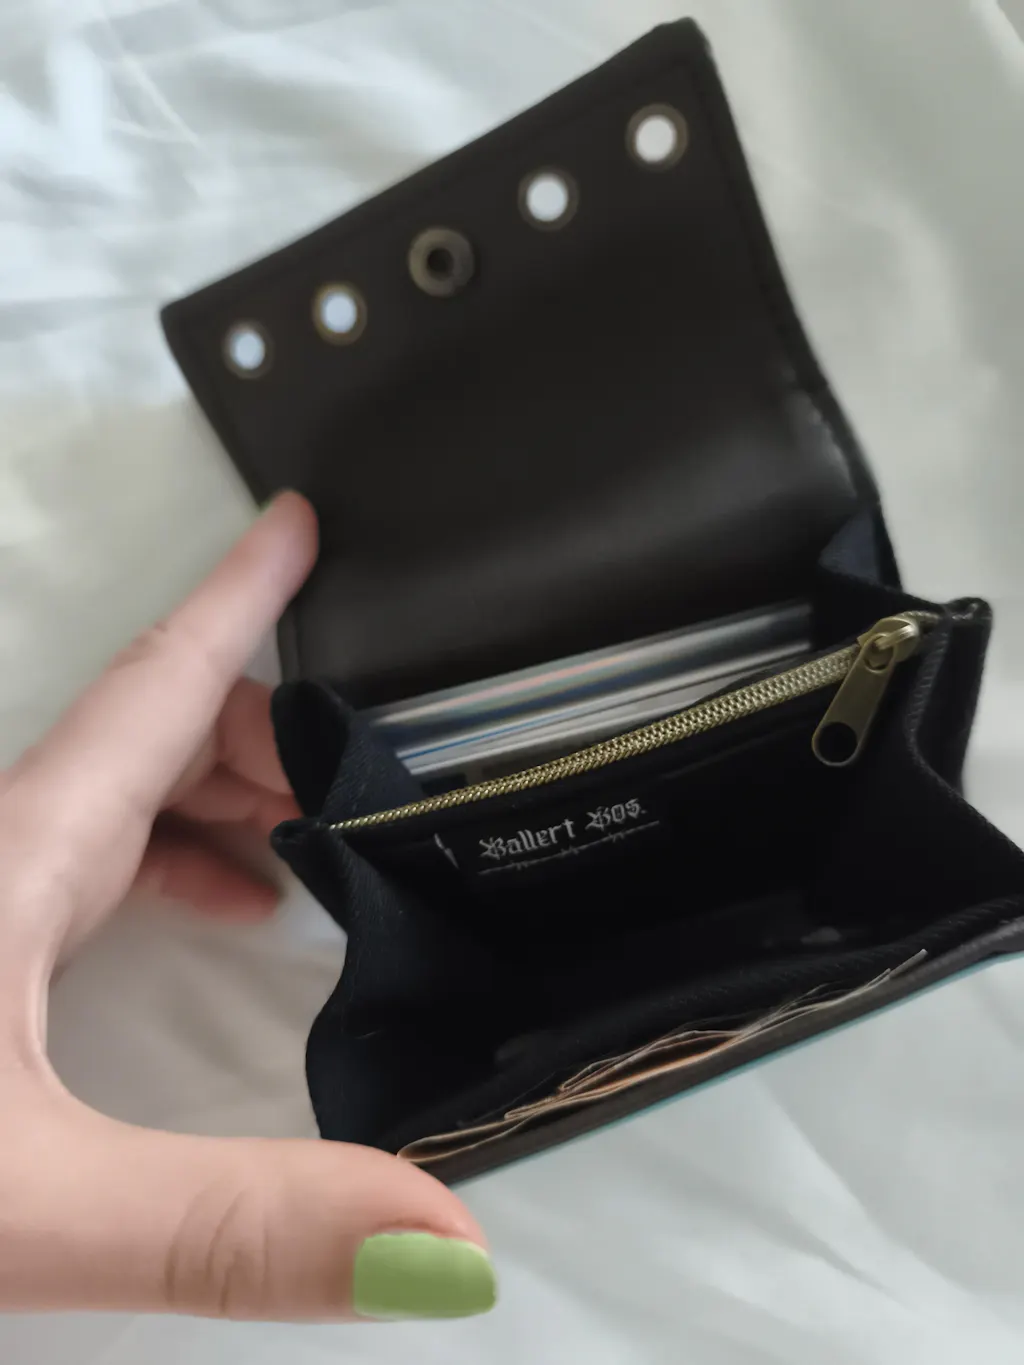
DIY pencil case sewing instructions: Upcycled pencil/cosmetic bag
Aileen AkinDIY Bag Sewing Instructions: Upcycled Pencil Case
Want to sew your own pencil case and looking for a simple yet creative tutorial? In this DIY tutorial , I'll show you step by step how to make a unique upcycled pencil case from old packaging and fabric scraps. Perfect for crafting projects, sewing beginners , and anyone who loves sewing DIY bags !
Step-by-step instructions: Sewing a DIY pencil case
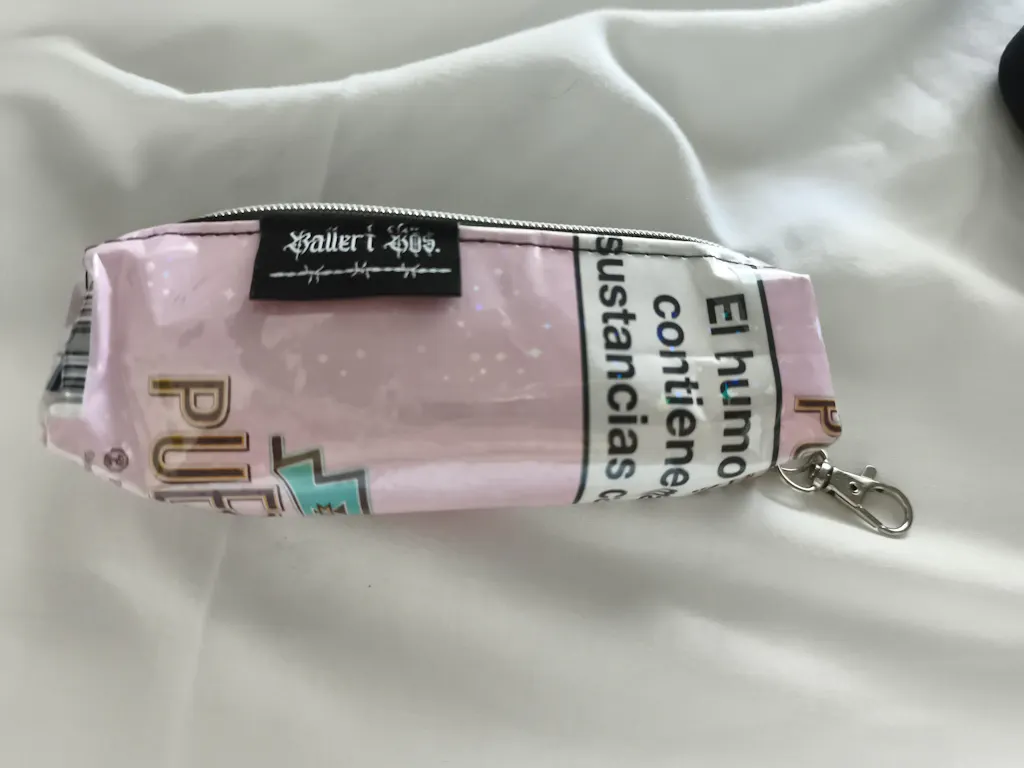
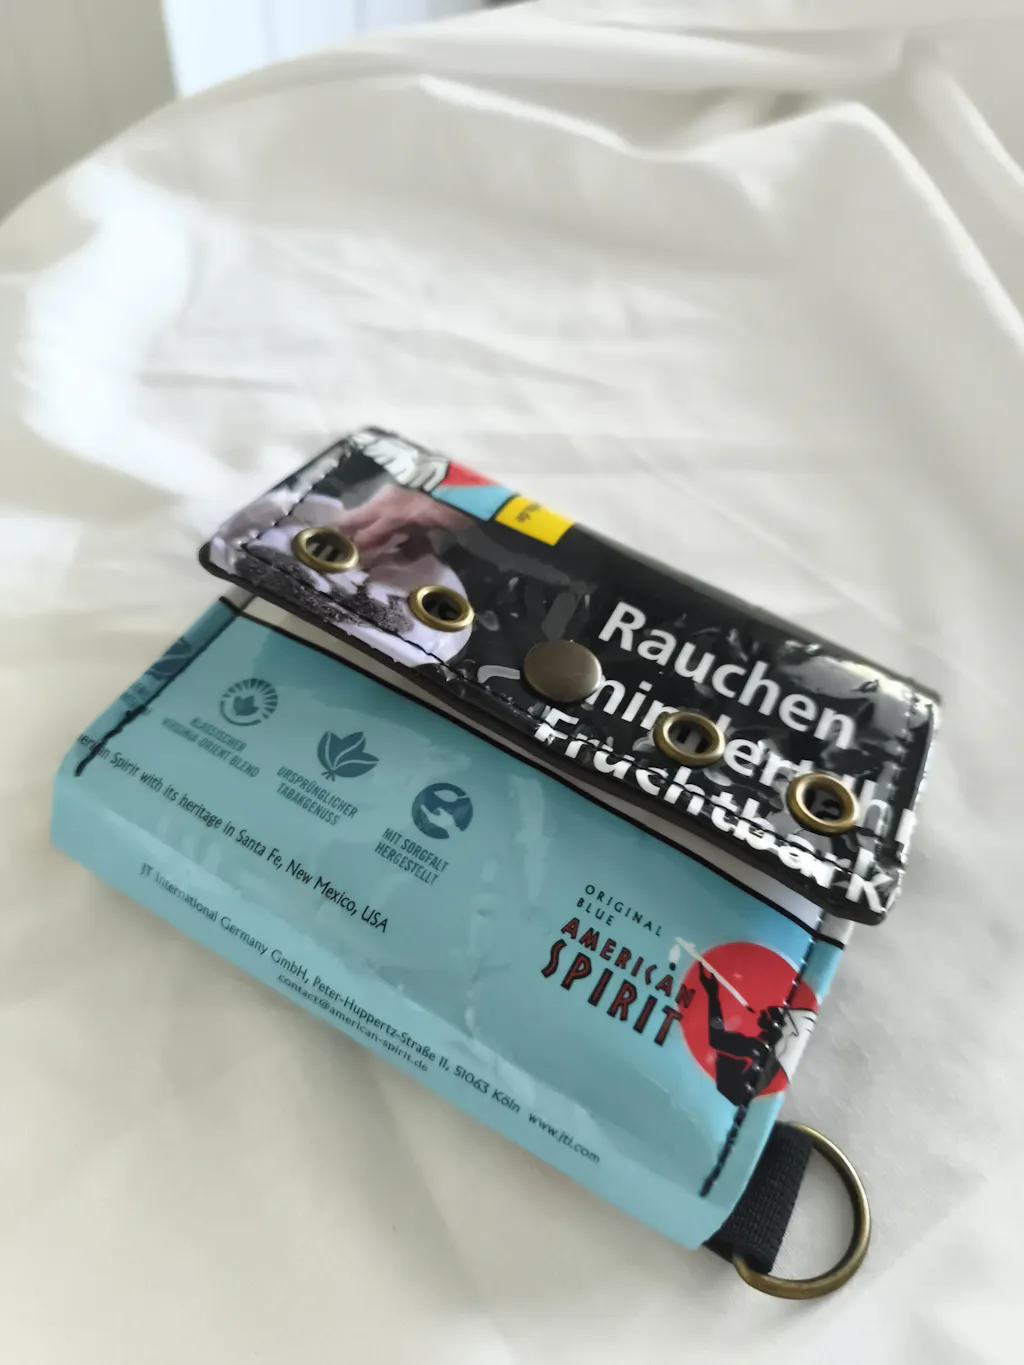
- Prepare the packaging: Cut two pieces of packaging material, laminate them twice (both sides, with self-adhesive vinyl film. Try to avoid bubbles; use a credit card to help), and place them face down on top of each other. Sew them together once with a straight stitch. Then unfold the package and sew the seam once or twice more to ensure it lies flat.
- Cutting the fabric: Take a piece of cotton fabric (e.g., cat fabric) and use your packaging as a template. Important: you need two pieces, which you will sew together later (this will make turning it right side out easier).
- Inserting the zipper: Cut a continuous zipper, position it, and sew along one long edge. To do this, place the zipper with the top side facing the packaging material and then place the cat fabric on the back of the zipper. Sew this together. Then unfold the packaging and fabric and sew again on the right side of the zipper to ensure the seam lies flat.
- Splitting the zipper : important step! Split the zipper. Repeat step 3 on the opposite long side with the second piece of cat fabric.
- Sewing the inner fabric together : turn your bag inside out so that you can sew the two separate pieces of cat fabric right sides together.
- Install the Sipper: Now turn the bag over again. Pull the slider all the way through once (so that the zipper is closed) and then slide the slider again to the middle.
- Seal the zipper (optionally attach a strap or elastic): Stitch the ends of the zipper to prevent it from accidentally opening during further processing. Optionally, attach a loop or elastic band as a retaining strap.
- Turn the bag inside out: You now have the bag with the packaging facing outwards. To continue, the zipper needs to be opened a little. Through the opening, turn the bag inside out (lining/cat fabric to the outside).
- Close the side seams: Open the zipper, secure the sides, and sew both short open edges. Trim off any excess zipper tape.
- Attach bias tape: To avoid any raw seams and edges in your bag later, I recommend attaching bias tape to the seam. If you don't have bias tape on hand, you can make your own (there are many tutorials on YouTube). Alternatively, you can also finish the raw edges with a zigzag stitch—that works too :)
- Shaping the corners: Measure 2 cm squares at the corners and cut them out. Now press the edges together, secure them with fabric clips, and sew all four sides. This creates the "boxy" shape of the bag.
- Sew on hem tape: Finish all raw edges with hem tape for a neat look. Alternatively, use a zigzag stitch.
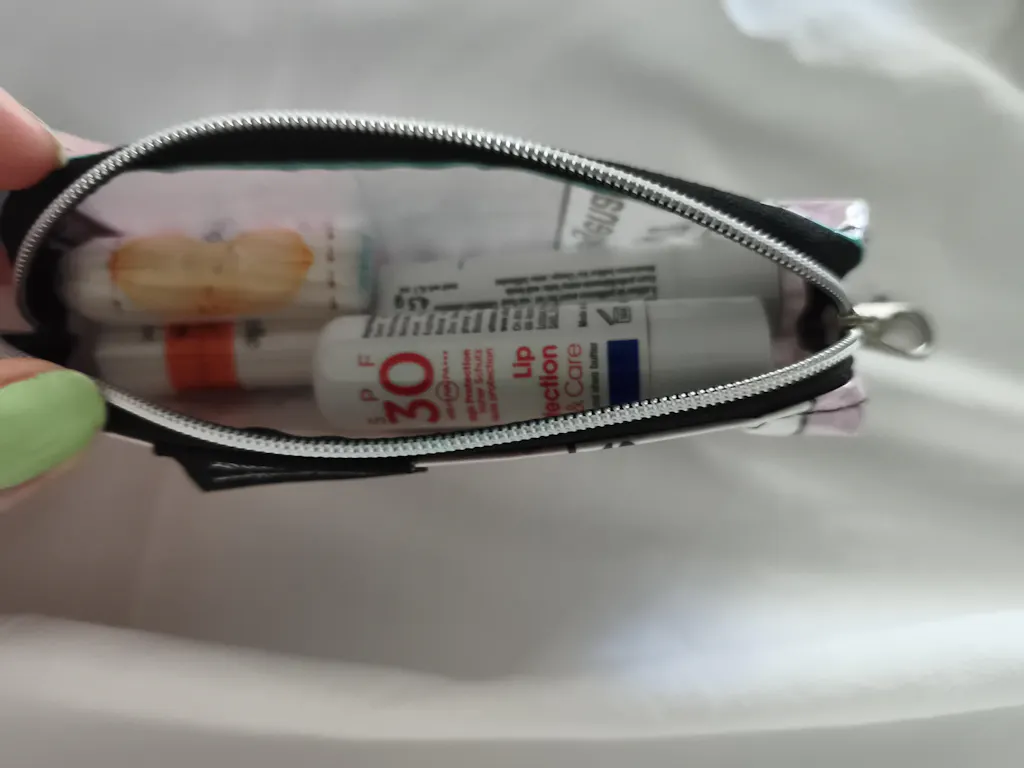
- Final step: Turn the bag right side out – your upcycled pencil case is finished!
Materials list for your DIY project
- Cotton fabric with cats, e.g., this one *
- Packaging material for upcycling (I use two packs of American Spirit in the video)
- Self-adhesive cold laminating film in DIN A3* or alternatively book film
- Continuous zipper with slider*
- Leather yarn * or polyester thread (I use Gütrmann Toldi yarn* ), tear-resistant
- Sewing machine for beginners (I use the Singer Heavy Duty 4432* )
- Tailor's scissors (I use these ones * )
- Ruler * or measuring tape
- Hemming tape/ bias tape * in desired color. At least 20mm, preferably 25mm wide.
- Fabric clips * (or alternatively pins — but we recommend clips for such work)
- Optional : Tag/Label (I explain how you can make your own low-budget labels at home without spending a lot of money in this YouTube tutorial. )
Sewing tips & tricks
- If you don't have a continuous zipper, this tutorial won't work for you , as separating the zipper is essential to the process. You can find continuous zippers on Amazon for a small price (see the materials list; I've linked my materials there).
- For beginners, the fabric should NOT be stretchy. This makes it easier to work with and prevents unsightly creases.
- Hemming tape ensures clean edges – alternatively, you can use a zigzag stitch. Or you can make your own bias tape from fabric. There are many tutorials for this online.
- Upcycling idea: Use old jeans or fabric scraps from clothing for even more sustainability.
*Note: The links mentioned in this post are affiliate links. If you make a purchase through these links, I receive a small commission. The price remains the same for you.*