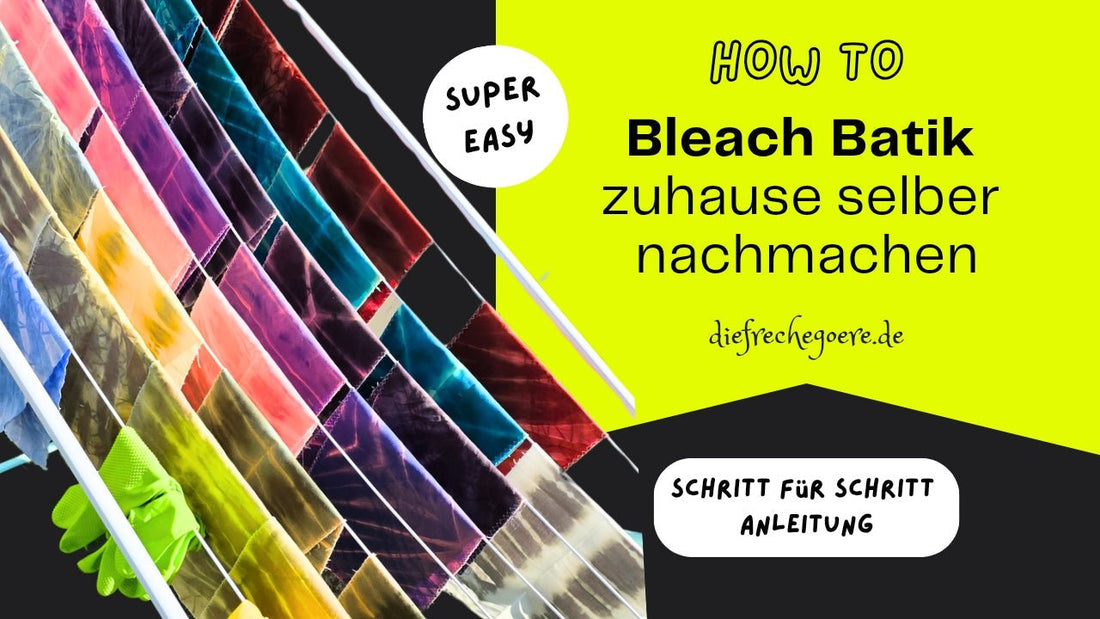
Bleach Batik Step by Step Instructions - Video
Aileen AkinHey, I'm Aileen, also known as THE CHEEKY BRAT. I've been lovingly handcrafting small, unique bags and pouches since October 2024.
In this tutorial, I'll show you how I finish the fabrics before they are printed and sewn.
what you need:
- Cotton fabrics* (synthetic fabrics don't work, and blended fabrics don't produce as strong a result) in various colors. The more saturated the color, the higher the bleaching contrast.
- rubber bands
- Bleach (I prefer to use chlorine bleach from DM as it is the cheapest)
- definitely gloves
- A hairdryer, or alternatively in sunny weather you can also place the bundles in the sun for a few minutes to activate the bleaching process
- a washing machine
- a sink for easy handling of the bleach (you can always wash it off directly)
- A clothesline or rack for hanging
Have fun trying it out!
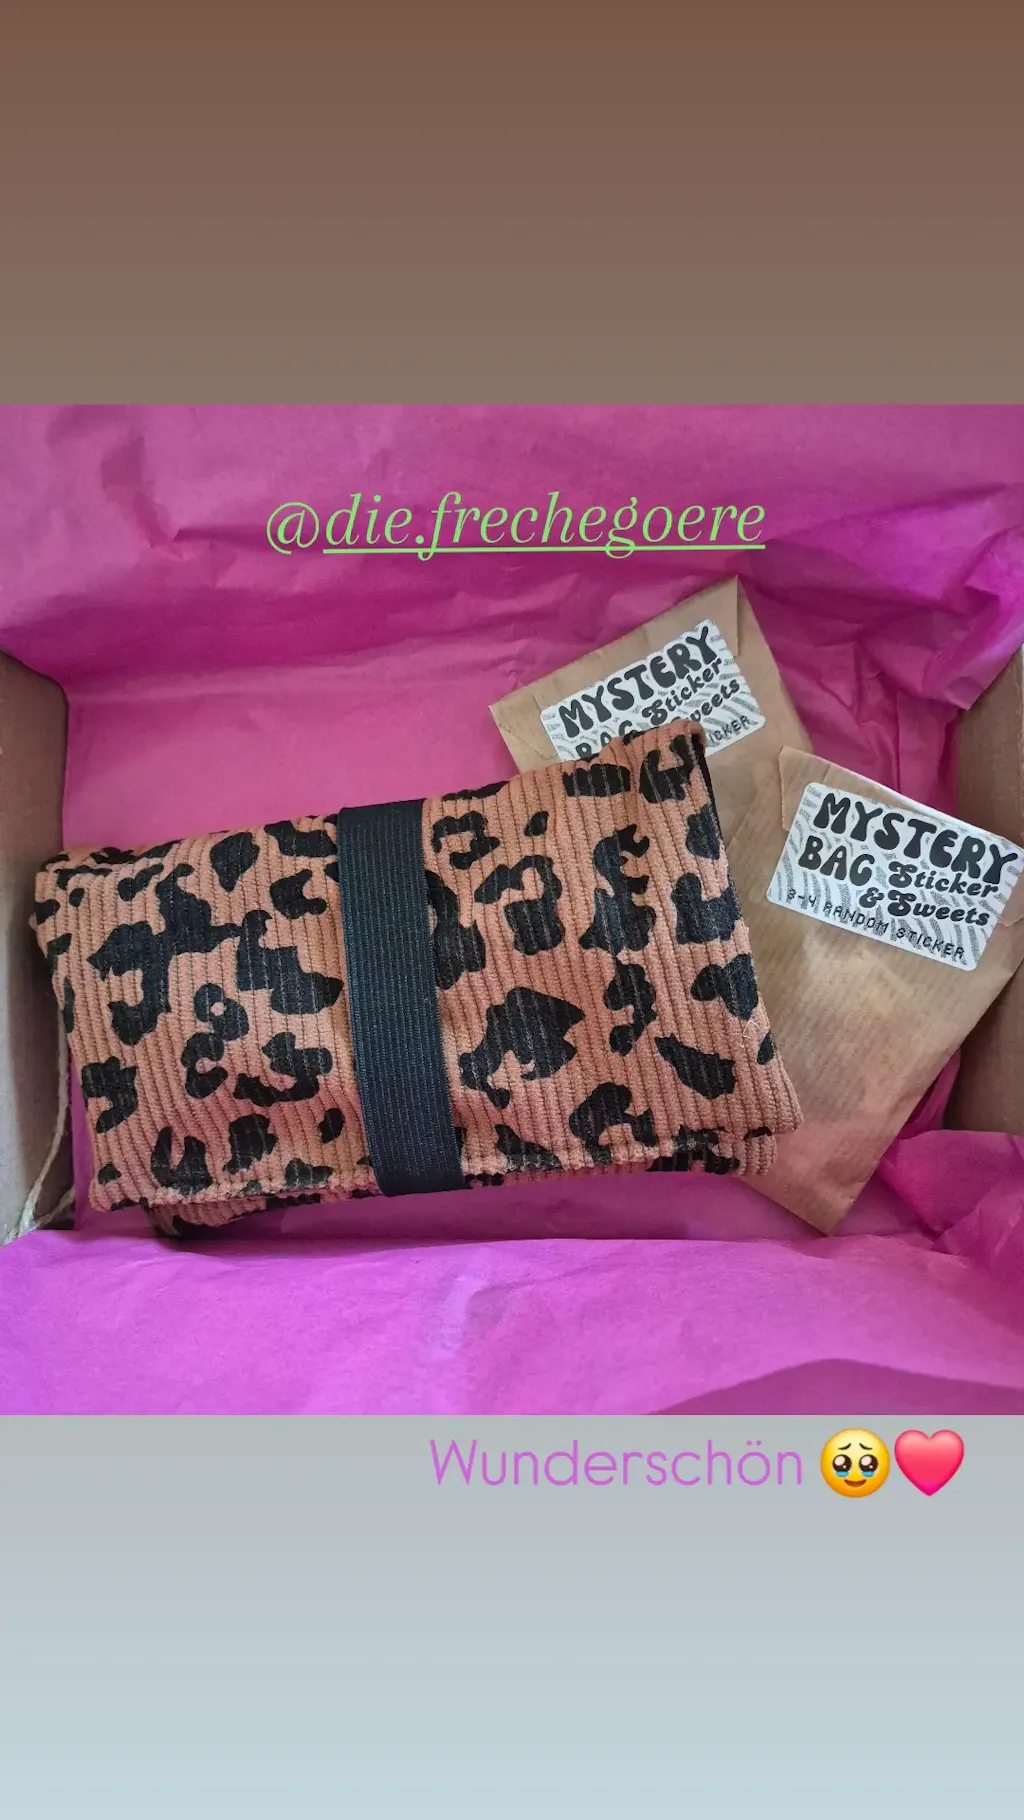
Where can you buy my finished unique pieces?
diefrechegoere.de ☀️
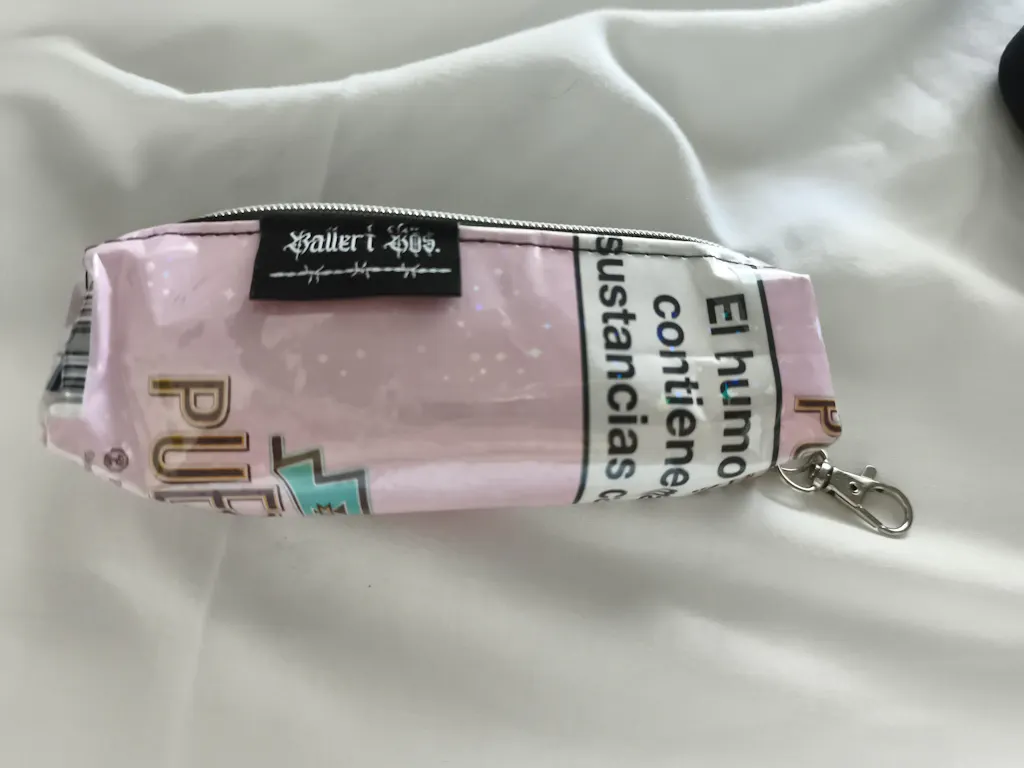
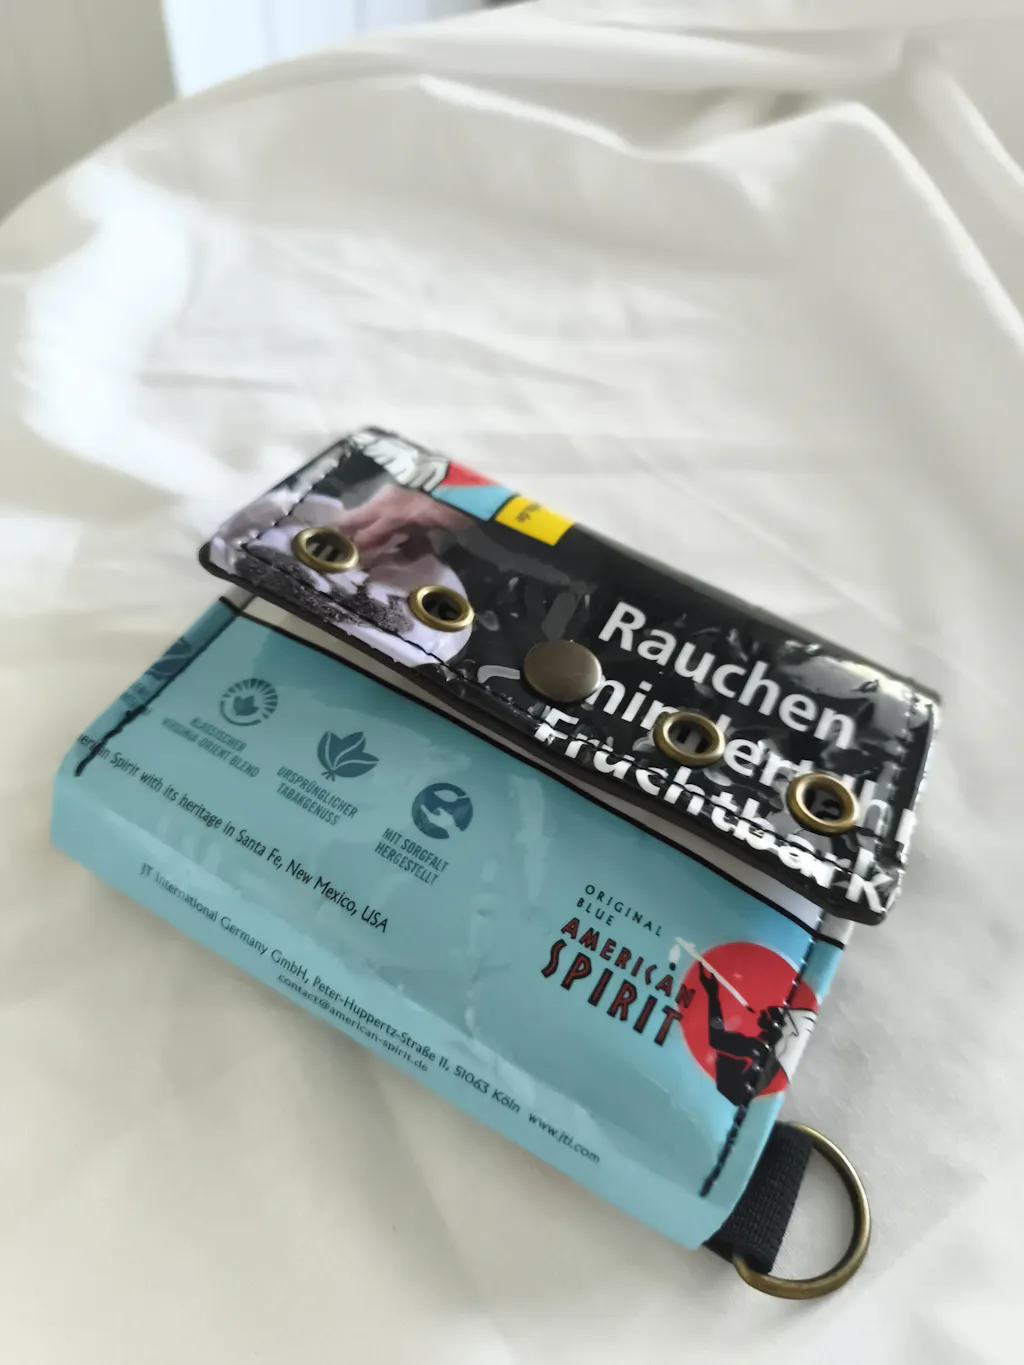
I make everything by hand myself and enjoy the continued popularity of the tobacco pouches because they are super practical and simply unique :)
Do you still have questions about the process?
then feel free to write me a comment, or for more complex issues, please DM me via Instagram: die.frechegoere
*Something I hadn't done at the time of this tutorial, but HIGHLY recommend: once you've cut the fabric pieces, you should neaten the edges with a zigzag stitch. This will prevent the ends from fraying, everything from getting tangled in your washing machine, and the fabric from shedding a lot of material. Then you won't even need the wash bag :)
#diy #handmade #sewing #smallbusiness #tiedye #batik #fabricfinishing #fabricdyeing #bleach #bleachbatik