DIY zippered bag made from packaging material – upcycling instructions
Aileen AkinUpcycling: Sewing a zippered bag from old packaging material (DIY instructions)
Transparency notice: This post contains affiliate links. If you make a purchase through these links, I receive a small commission. The price remains the same for you.
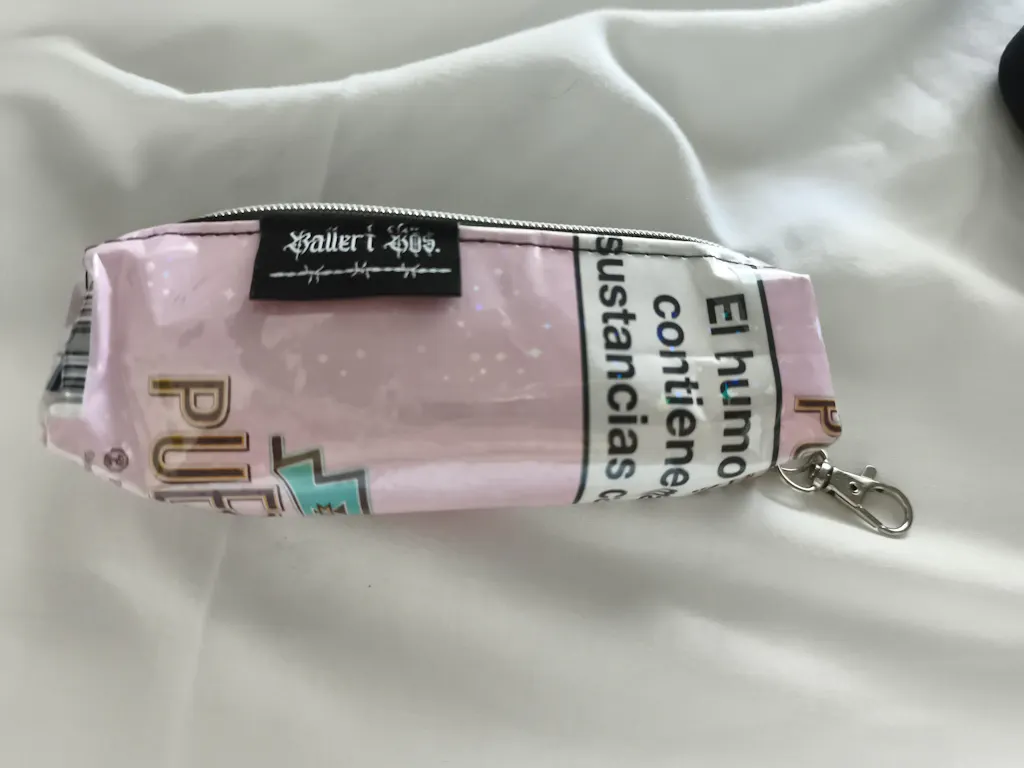
Old packaging doesn't have to go in the trash. I'll show you step by step how to sew a stylish DIY zippered pouch from it – quick, easy, and perfect for beginners. Bonus: You'll be recycling and creating a unique design.
Materials list
- Recycled packaging material (cleaned and cut to size)
- Transparent cold laminating film (vinyl film) for protection
- Lining fabric (cut to size), e.g., pink cat fabric made of cotton
- Zipper with slider/slider
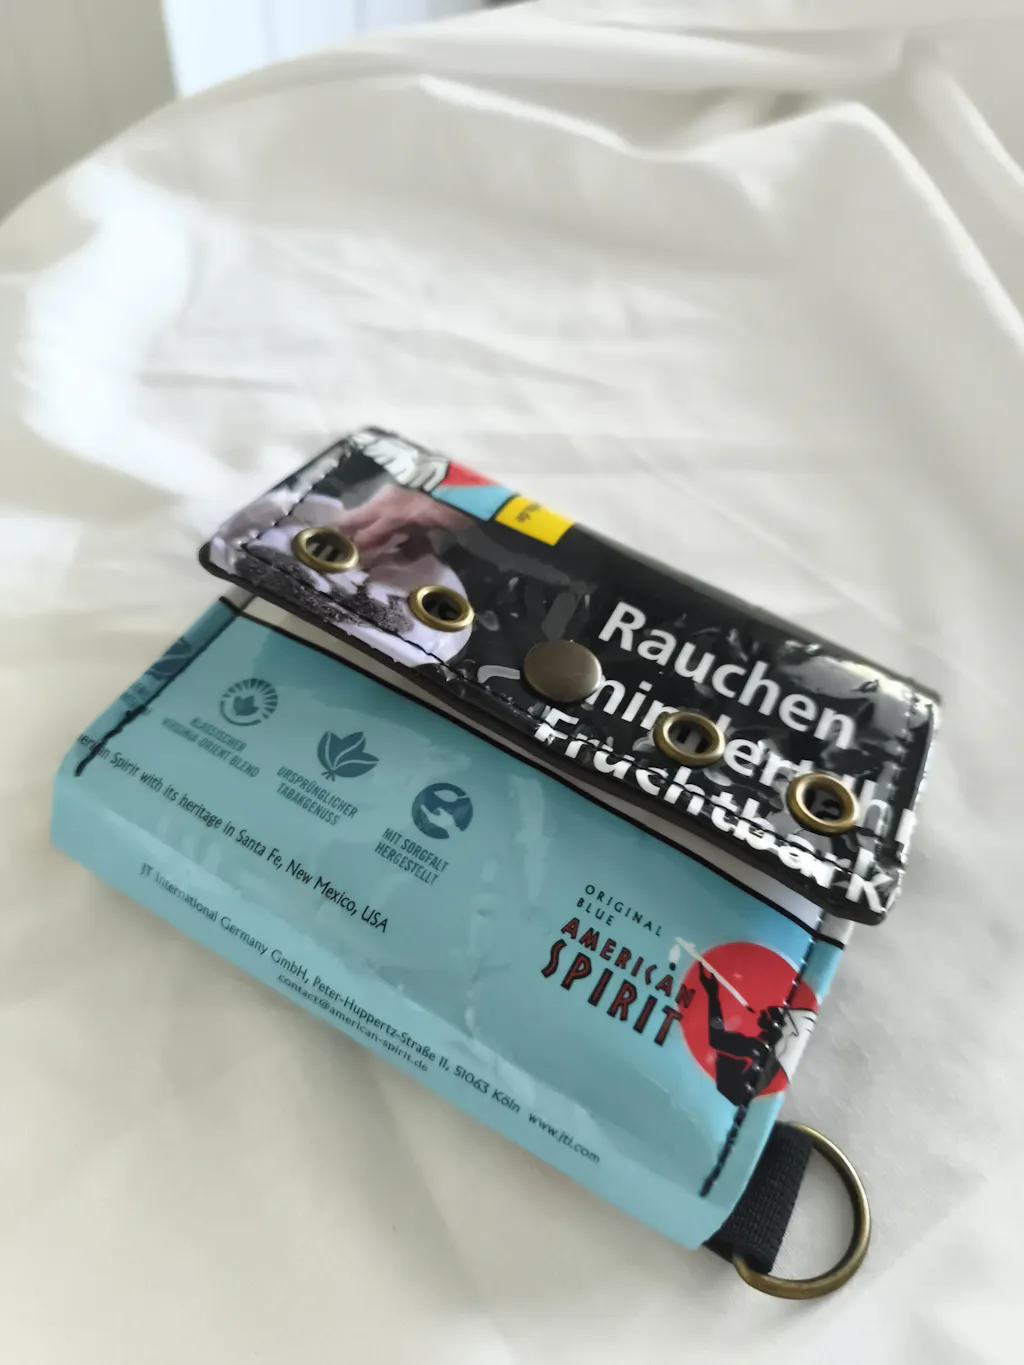
- D-ring with small strap/loop for attachment
- Tag/Label (optional)
- Sewing machine (suitable for beginners)
- Fabric clips/clips
- Tear-resistant sewing thread; I recommend Gütermann Toldi thread.
- Fabric scissors/tailor's scissors
- Optional: Tag/Label (I explain how you can make your own low-budget labels at home without spending a lot of money in this YouTube tutorial. )
Step-by-step instructions
- Prepare the packaging: Clean the packaging thoroughly and cut it to the desired bag size. Cover the surface with transparent cold laminating film, ensuring it is as bubble-free as possible, for stability and protection.
- Insert tag/label (optional): If you want to use a tag, attach it now to the designated spot on the packaging.
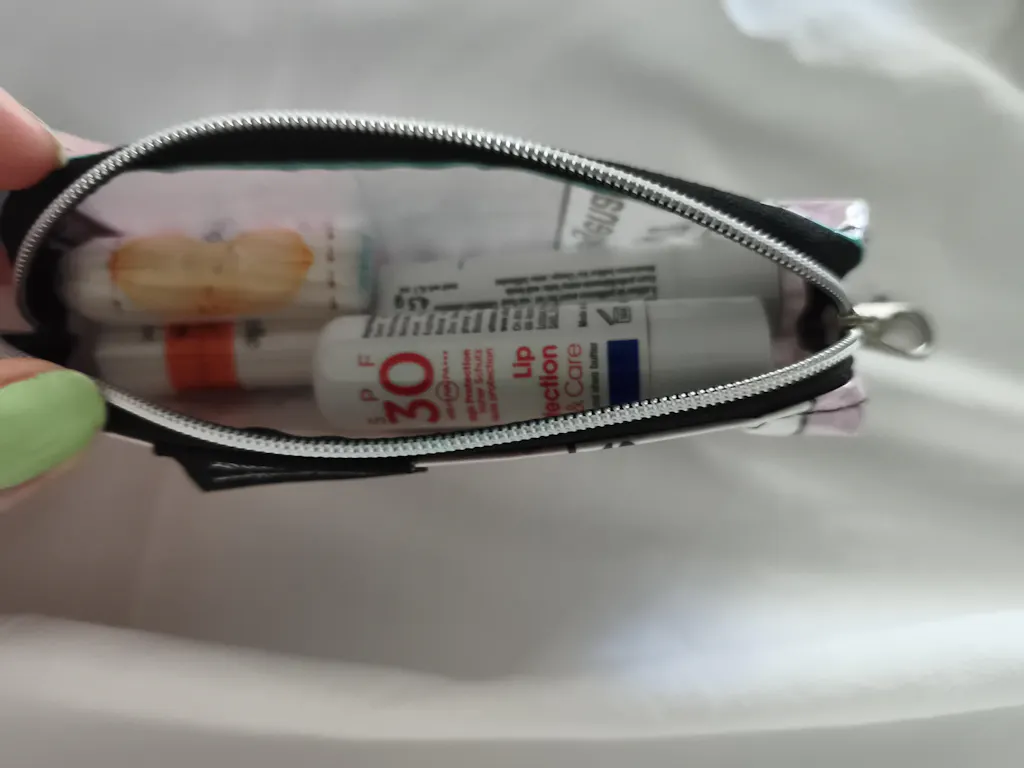
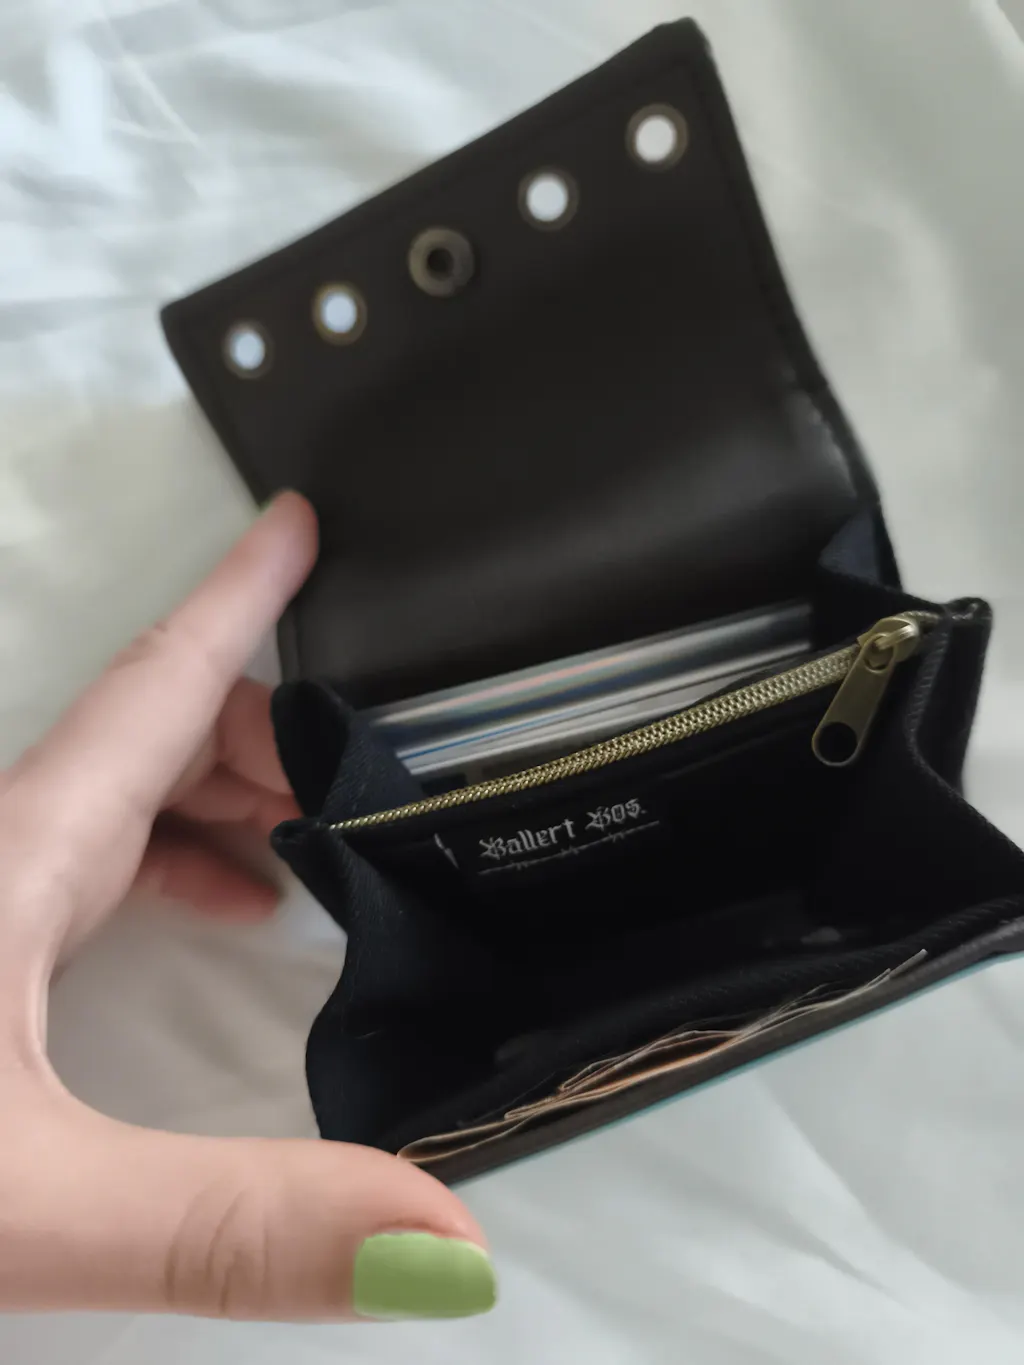
- Positioning the zipper: Insert the sipper into the zipper. Place the zipper right sides together along the edge of the prepared packaging and secure everything with clips.
- Attaching the lining: Place the lining fabric right sides together on top of the zipper and clip it in place. Then fold both layers over and topstitch the edge neatly.
- Repeat for the second side: Place the opposite edge of the packaging right sides together along the zipper, then place the lining fabric right sides together over it. Pin, sew, and topstitch. Now you have two layers that form the bag.
- Close the side seams and insert the D-ring: Align the zipper to the outside. Place the D-ring with its loop at the desired side seam and stitch along the sides. Important: Leave a small opening for turning.
- Turning & Finishing: Make sure the zipper is slightly open. Turn the bag right side out through the opening. Fold the opening inwards and sew it closed close to the edge. Your DIY zippered bag is finished!
Tips & Tricks
- Always sew with the zipper slightly open so you can easily turn it right side out later.
- No D-ring available? Sew in a small fabric loop as an alternative.
- Using colored lining fabric creates a strong contrast to the packaging design.
- Clean edges: After laminating, trim any excess material flush.
Affiliate Disclosure
Note: The links mentioned in this post are affiliate links. If you make a purchase through these links, I receive a small commission. This does not change the price for you.
- Choosing a selection results in a full page refresh.
- Opens in a new window.
★ Reviews